Swimsuit Sew-Along: Sewing with Elastic
This post is one part of a Swimsuit Sew-Along series! If you missed the previous posts and would like to join in, just click below! Swimsuit Sew-Along Announcement Your Machine The Pattern Fabric Notions Checking In Pattern Alterations (for fit) Altering for Style Cutting It Out Basic Construction I sincerely hope you are doing well and…
This post is one part of a Swimsuit Sew-Along series! If you missed the previous posts and would like to join in, just click below!
- Swimsuit Sew-Along Announcement
- Your Machine
- The Pattern
- Fabric
- Notions
- Checking In
- Pattern Alterations (for fit)
- Altering for Style
- Cutting It Out
- Basic Construction
I sincerely hope you are doing well and feeling good about how your swimsuit is coming along. If you have any questions, frustrations, adventures to share, I hope you feel free to do that in the comments or my facebook page. It helps everyone to know they’re not alone!
There is something I’d like to add after working on my suit. If you are having trouble getting started at the beginning of your seam, be sure to hold the threads back behind the machine and use them to give a little tug to help your machine get past those first few stitches. You don’t want to pull as a rule because your needle will pull while in your fabric and get bent or pulled somewhere other than the prescribed channel it is meant to use to go into the machine and you’ll break a needle.
At this point your suit should be mostly put together and ready to add the elastic. It may look something like this:
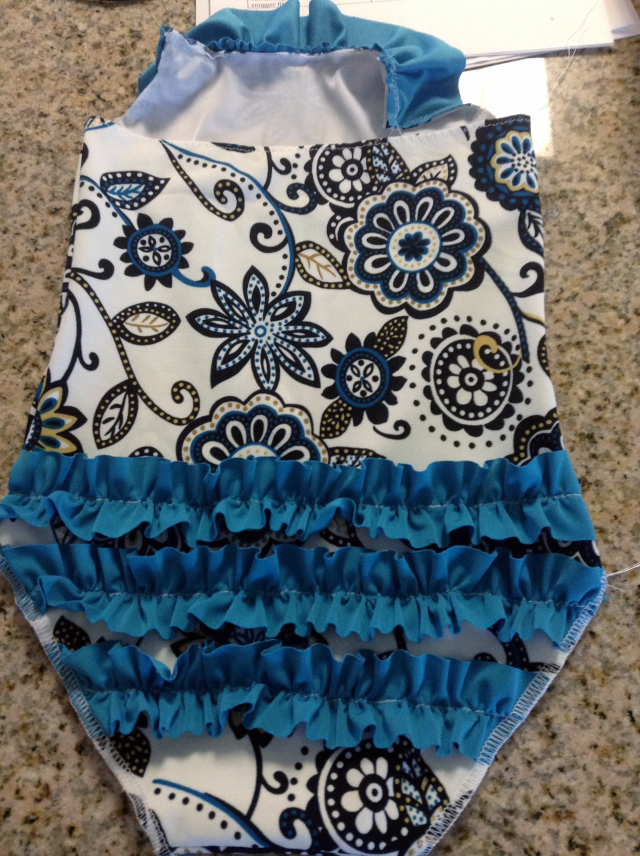
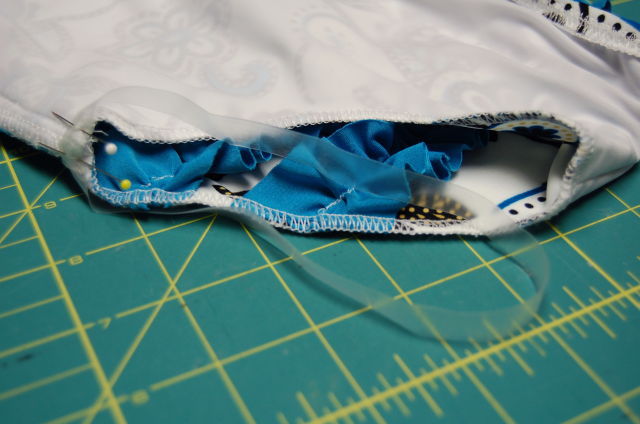
When I make a swimsuit I like to use a combination of the serger and my regular machine. My little swimsuit is fully lined, front and back, so I serged the edges of the leg holes to make the two fabrics act as one. Knit fabrics do not ravel so the serging on a swimsuit serves two purposes: 1) create a strong seam that also stretches with the fabric, and 2) add a professional finish to edges and seams. After my edges were serged I measured out my elastic. Most commercial patterns give you an elastic length chart or a pattern piece called “elastic guide” to give you an idea of how much elastic you will need. My pattern simply said to measure it out according to the leg hole and if I wanted a more snug fit, make it an inch or two short. However you come up with the necessary amount of elastic, you will then turn your swimsuit inside out and pin the elastic along the edge of your leg hole, overlapping the ends about 1/4″ – 1/2″.
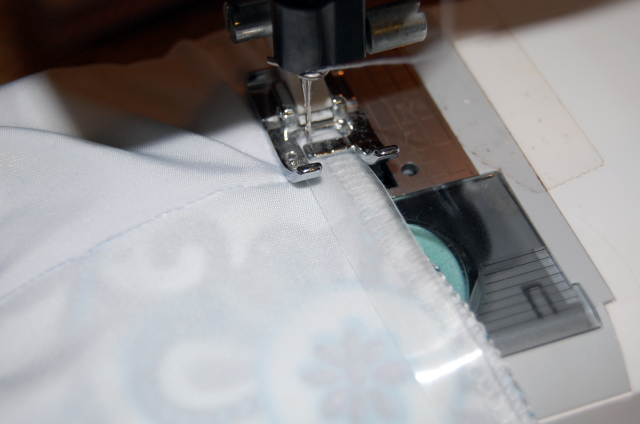
 This step could be done on the serger and creates a nice professional finish. It’s just a little more challenging, in my opinion to line up the elastic the way I want to so I use my regular machine. Just choose your zig zag stitch, I used a 5.0 width and a 3.5 length, and sew the elastic to the edge.
There are two things to note. First, only stretch the elastic as you sew, not the fabric. Also, if your elastic is cut shorter than the length of the leg hole, all your stretching will want to be across the back of your leg hole. After you’ve sewn the elastic in place, turn it to the inside and stitch in place once more.
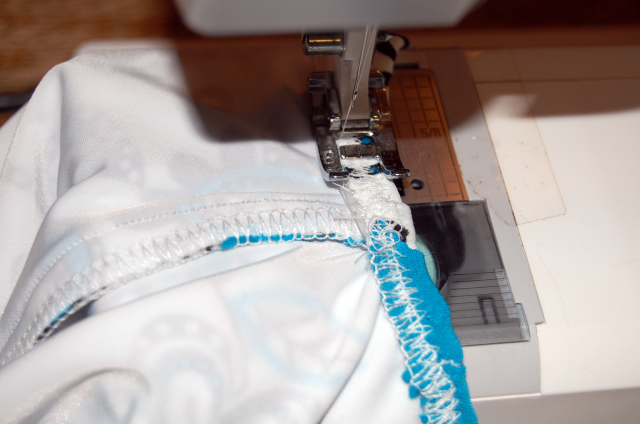 When you are done, snip your threads and turn your suit inside out and admire!
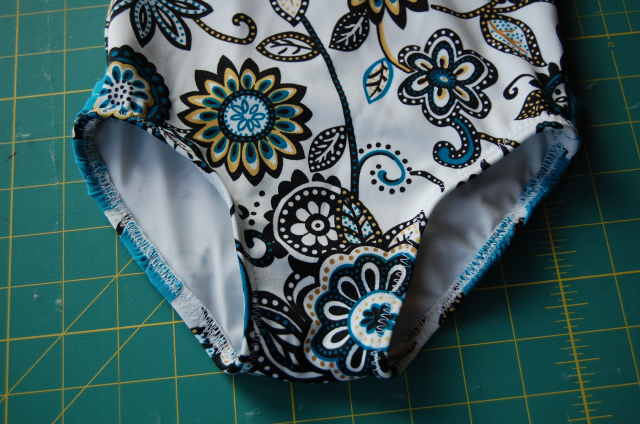
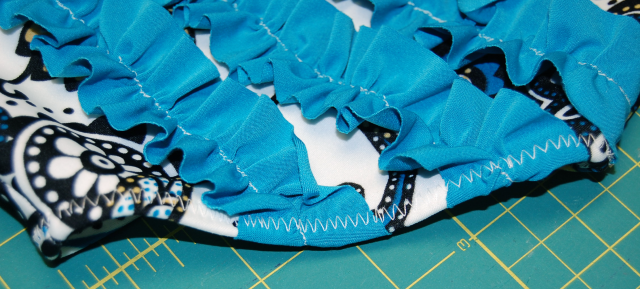 Another place you may need to use elastic is in your straps. I really liked my instructions for this, so I will share. First I sewed the fabric strip partially to my swimsuit, matching up centers and leaving the rest of the strip for the halter ties. Then I sewed the elastic to the edge, exactly how you sew it on the leg holes.
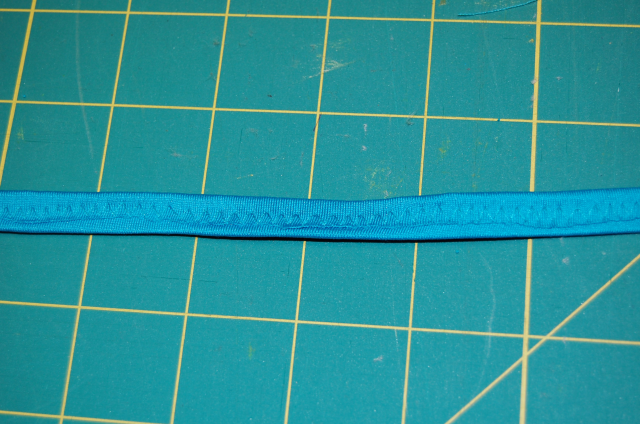
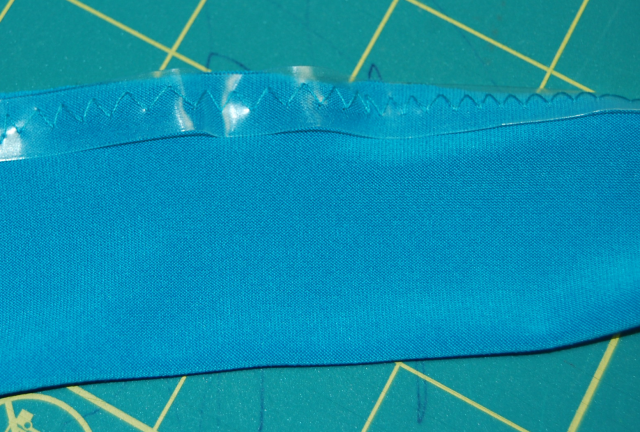 Then you turn the elastic twice so it’s encased in the fabric and stitch the fabric in place.
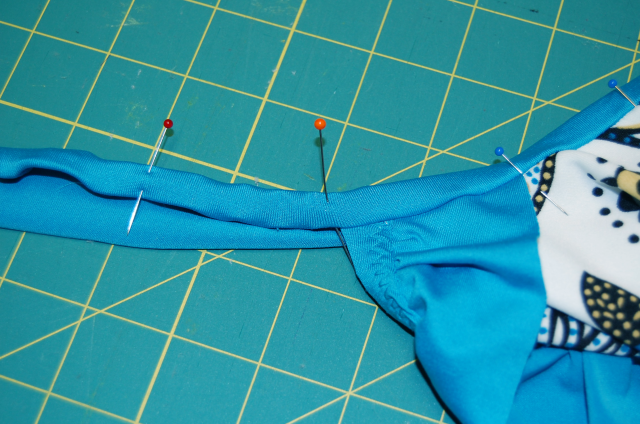 Once it is all stitched in place, cut off the excess strap close to your stitching and you’ll have your strap!
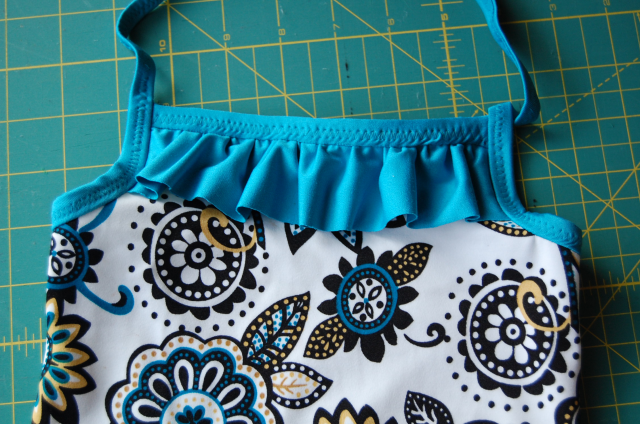 So that finishes my swimsuit! and here’s a snapshot of the whole thing.
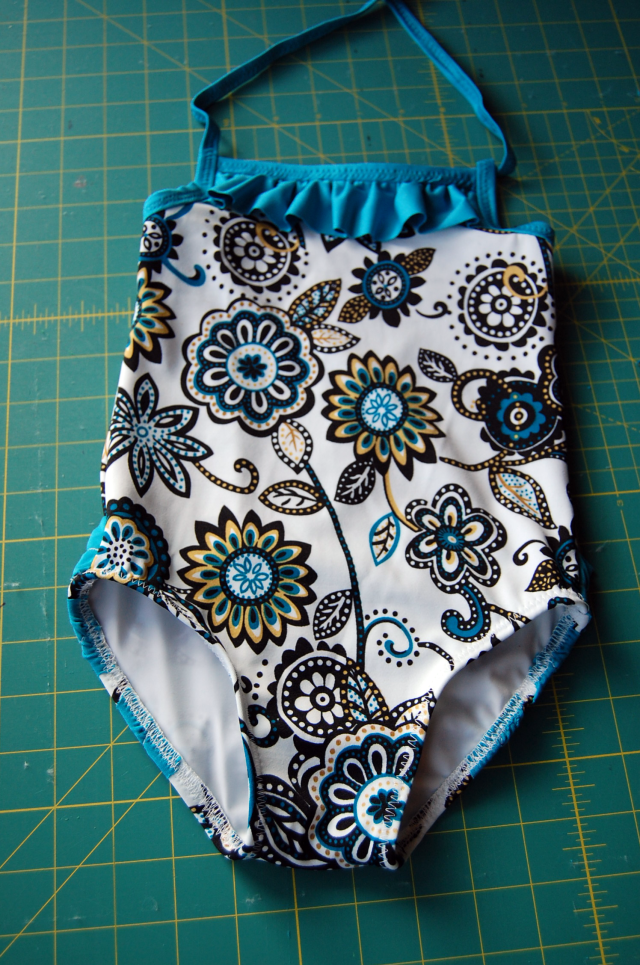 I hope this series was helpful to you in creating your own swimsuit. I would love it if you would share the link to your blog or post your finished product pic on my facebook page so we can all see! If there are challenges you faced that I didn’t cover, please feel free to contact me. I’d love to help. I can’t wait to see what you’ve made! Thanks for following along!

