Back To School with Straight Stitch Designs
Hello! I am Kimberly of Straight Stitch Designs and I am taking over Jaime’s blog today to talk about something near and dear all of our hearts, back to school time! I will start by saying that summer is the time of year when being a stay at home parents pretty much rocks the world. We can…
Hello! I am Kimberly of Straight Stitch Designs and I am taking over Jaime’s blog today to talk about something near and dear all of our hearts, back to school time!
I will start by saying that summer is the time of year when being a stay at home parents pretty much rocks the world. We can go to the park or zoo, hang out in the backyard and eat popsicles for breakfast or go swimming every day if we want to. But as the summer draws to an end and everyone is getting bored and tired of being hot (wait is that just me?) we start looking forward to school starting again.
While I don’t have any kids in elementary school both of my kids attend cooperative preschool and my son has to bring lunch to school once a week. For my daughter last year I just used plastic baggies for her lunch but I always felt so wasteful throwing them away after lunch. And while all last year I kept telling myself I was going to make reusable bags I never actually did it.
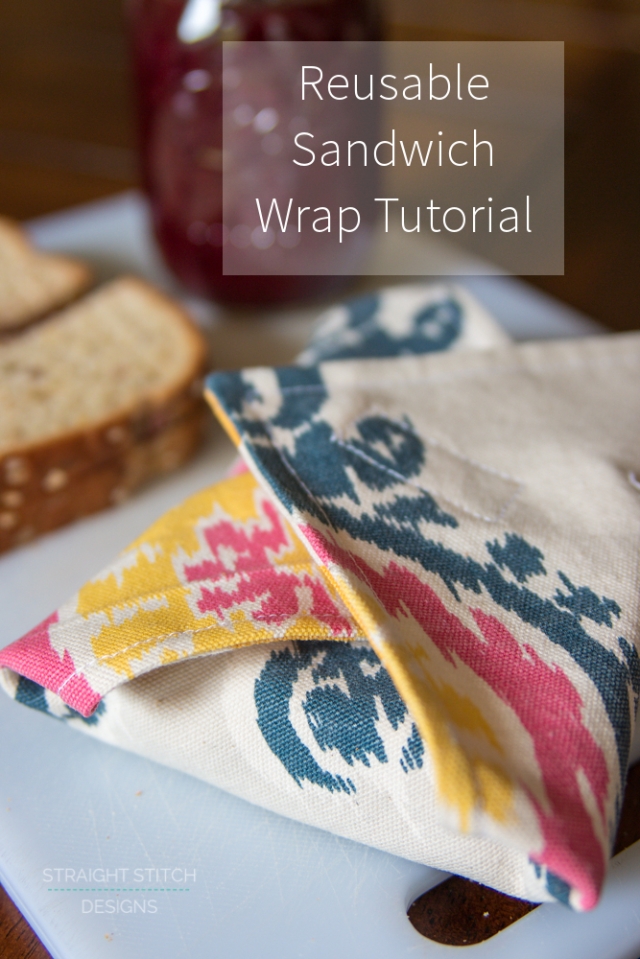
I decided to stop being lazy and sew up a quick sandwich wrap for packing lunches and now I am kicking myself because they are just so easy! Like two squares of fabric and some velcro easy. So easy that there really isn’t a reason you all shouldn’t make these, or 10. They are super handy to have around and don’t have to just be used for kids lunches.
And because I don’t want any of you to look back a year from now and kick yourself for not having these, I am going to take you through the steps to make your own.
I want to start with materials because there is a lot of debate on what is the best material to use for reusable food bags and wraps. Many of the waterproof materials such as PUL, Polyurethane Laminate, are not certified as food safe. With that said people still use it, either because they don’t know or don’t mind. Ripstop is a very popular and apparently food safe options but since I wasn’t looking for waterproof I decided to just use some duck cloth. Now it would have probably been better to use natural un-dyed canvas, but I wanted mine to be pretty so I washed the fabric on hot and called it a day. Just do what you feel most comfortable with.
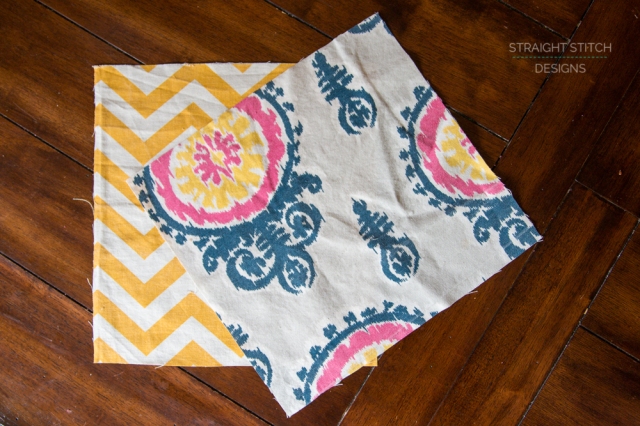
1. Start by cutting out two 12 inch by 12 inch squares, this size will be perfect for a full sandwich. But the beauty of this tutorial is that you can make it any size you want, so if you typically make sandwiches from homemade bread that isn’t a standard size than make it the correct size to fit. Just make sure you have a square in the size you choose.
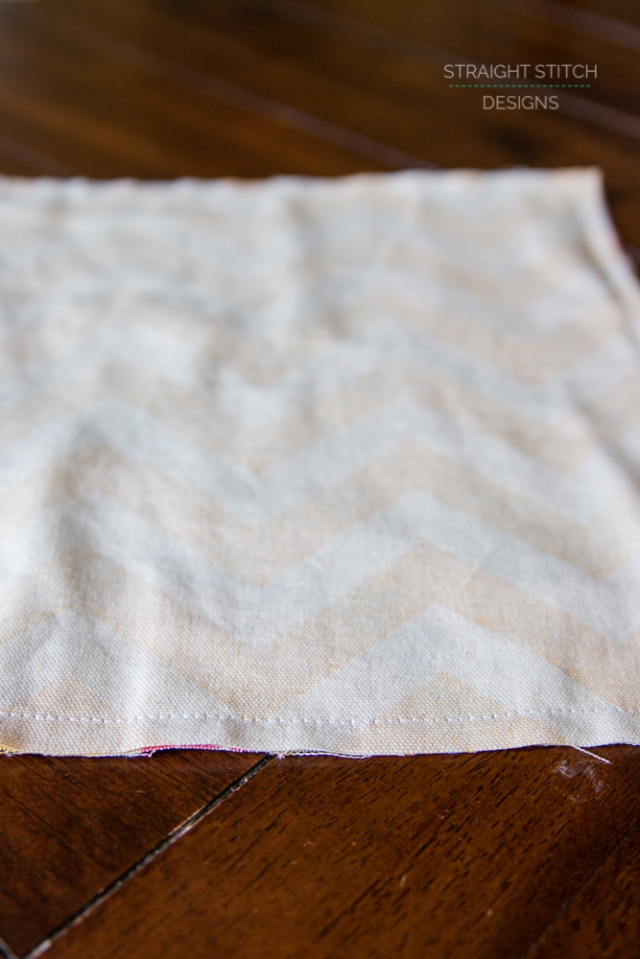
2. Put your fabric right sides together and sew around the outside of the square with a 3/8″ seam allowance. Make sure to leave a 2 inch opening which you will use to turn the fabric right sides out.
3. Before you turn the fabric make sure you clip the corners, this will help with the bulk at the corners and give you a cleaner look. Once the corners are clipped reach inside and flip it right sides out. My favourite tool for getting crisp corners is a chopstick and the best part is that it’s not sharp so it won’t poke through your fabric.
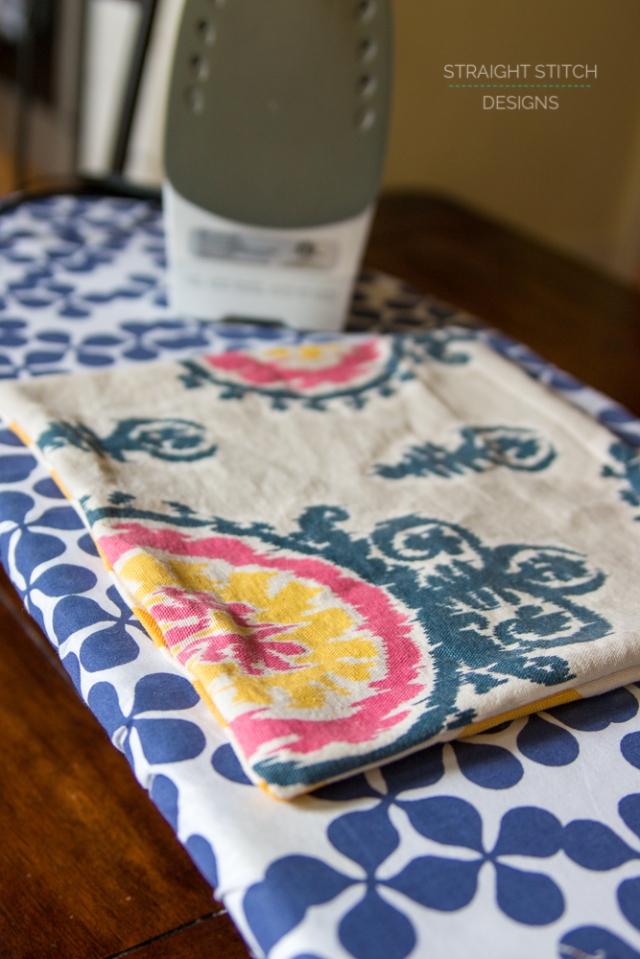
4. Take it to your ironing board and press all the seams flat. Don’t forget to press the seam allowance of the opening inside. I can be a bit of a lazy sewer sometimes and I am always tempted to just skip this step, but I promises you will never regret taking the minute or two to do it. The end result is so much better with a good press. If you don’t believe me go read this great article from the amazing Caila of Caila Made, where she talks all about the importance of pressing.
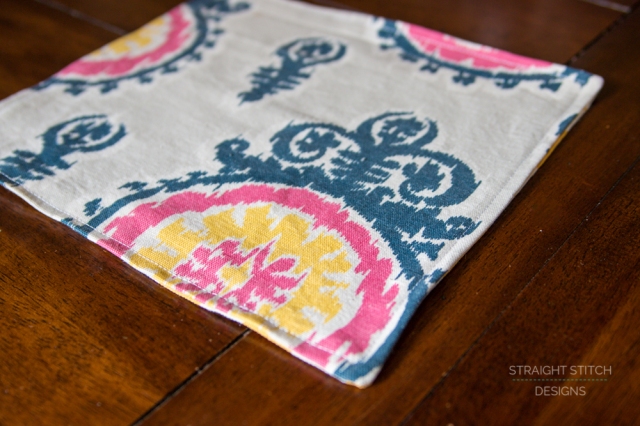
5. Now that all your seams are flat head back to your sewing machine and sew a nice topstitch around the entire perimeter of the square. Not only does this secure the opening you used to turn the fabric but it also gives it a nice finished look. You could also use a fun contrasting thread for a little bit of visual interest, I on the other hand was boring and just used white.
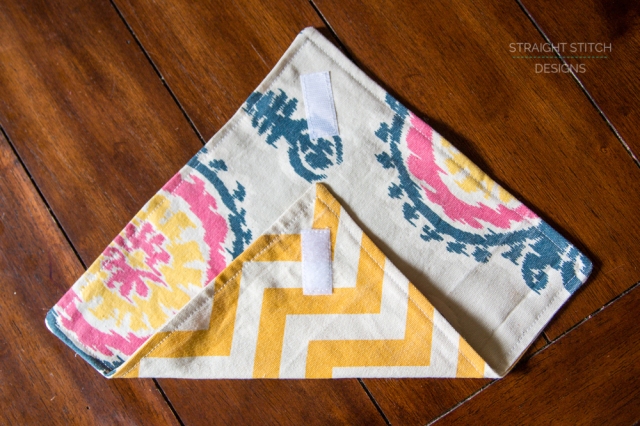
6. Now we just have to add the velcro and you are done. Easy right?!
Make sure when you are sewing on the velcro that you sew each side of the velro on opposite sides of the fabric as shown in the picture. The best part about doing the velcro this way is that your wrap is actually now reversible.
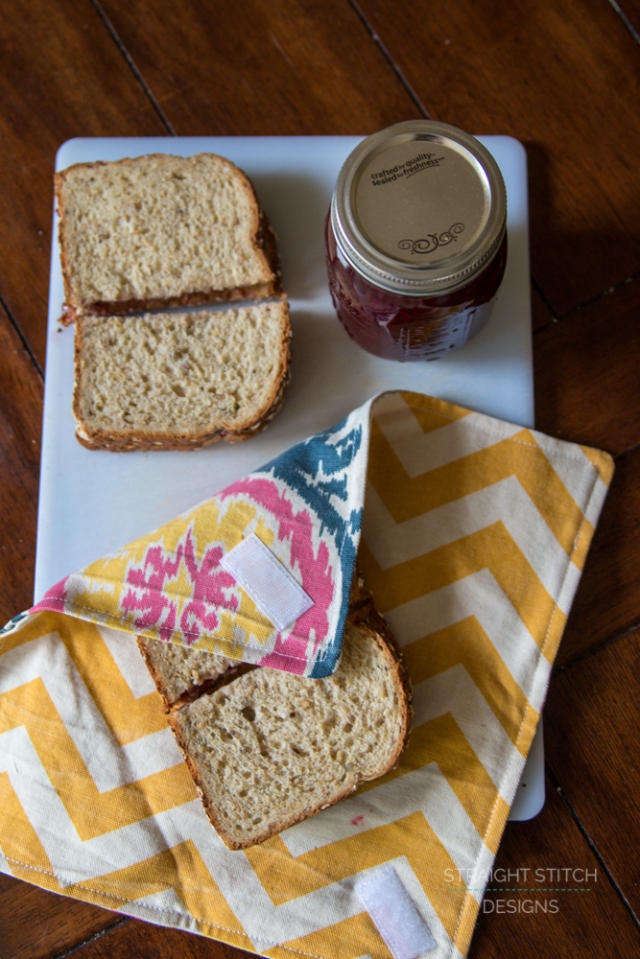
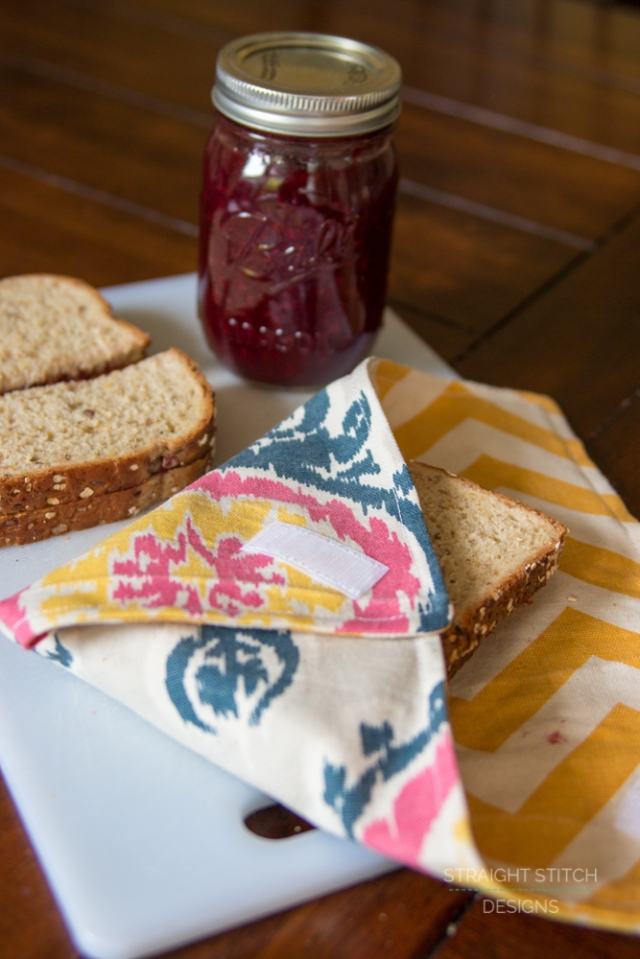
And just like that you now have a super handy and cute reusable sandwich wrap for your kiddos lunches.
It doesn’t just have to be for you kids lunches you can make these for the whole family. With the little amount of fabric it requires this is also a really great stash buster and if you are anything like me you may have a huge stash of duck cloth.
Thank you Jaime for having me here to share my back to school sewing project. I hope everyone enjoyed the tutorial and love their new reusable sandwich wraps.
If you are interested in seeing more of the things I am sewing and maybe even a few, or a thousand, pictures of my kids modelling the clothes I make for them head over to my blog Straight Stitch Designs. I also love sharing my in progress sewing and crafting pictures on instagram so make sure to head over there and follow @straightstitchdesigns

One Comment
Comments are closed.