Cargo Duffle Bag
Happy Monday! Did you sew something great this weekend?! I had a great day Saturday with my friend Karen making the Cargo Duffle Bag (Click here for the free pattern download!). I had pinned the pattern a few months ago and my friend Ginger suggested it be the project for my next class. As those…
Happy Monday! Did you sew something great this weekend?! I had a great day Saturday with my friend Karen making the Cargo Duffle Bag (Click here for the free pattern download!).
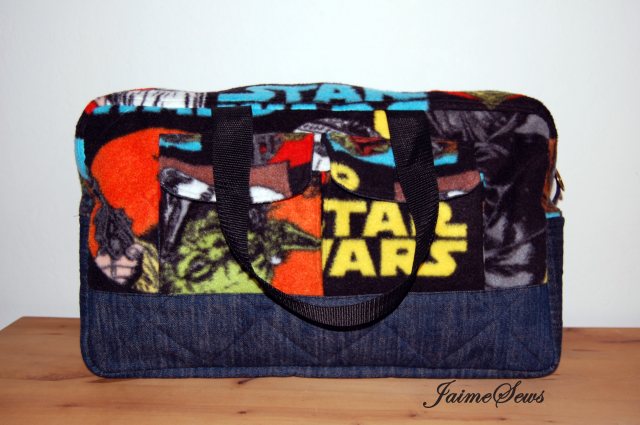
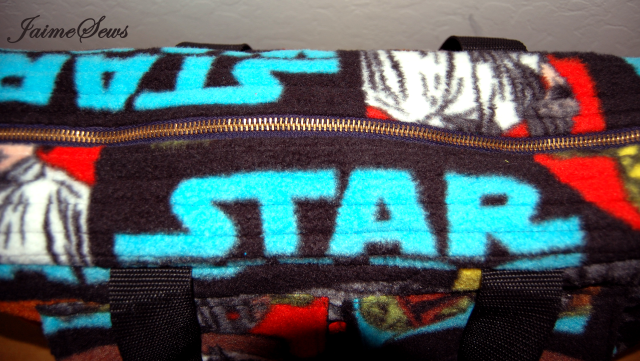
I had pinned the pattern a few months ago and my friend Ginger suggested it be the project for my next class. As those of you with lego-loving kids know, the lego collection can get out.of.hand. So I thought I’d make my Cargo Duffle Bag in fabrics my son would love and use it to consolidate all his legos into one location! I got the Star Wars Fleece and strap for the handles at F&M Fabrics (online as www.thefabricmarket.com). You might think fleece was a strange choice for a bag, but it actually made for a fun texture once quilted and the walking foot made sure the layers stayed together while quilting so I think it worked out!
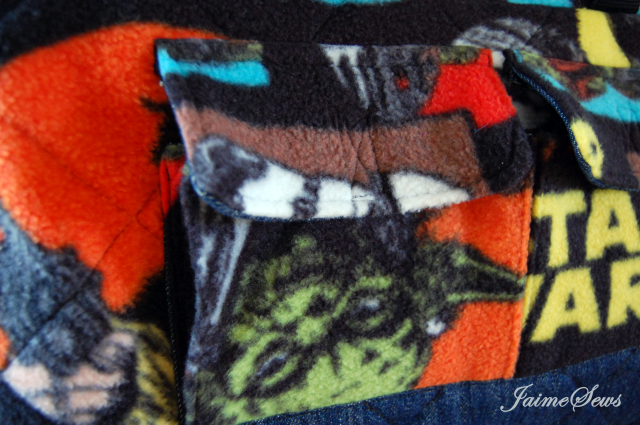
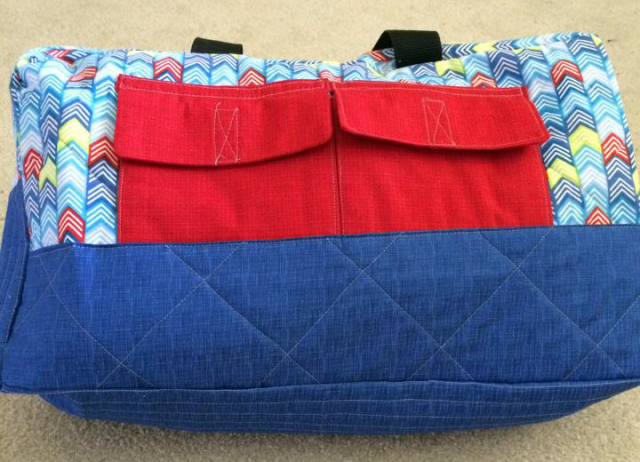
The Cargo Duffle has a simple design with just one large double cargo pocket on the outside. We decided on a velcro closure instead of snaps, placing the hook part horizontally along the top of the pocket and the loop vertically near the edge of the flap. This allows for the growth of the pocket as it’s stuffed with important things. I varried from the recommended quilting on the front and back panels. The pattern calls for horizontal straight lines of quilting, but being that I was gearing this toward beginner sewers and a one-day session, I wanted it to be more simple and less time consuming. I opted for 3″ wide crosshatching, then I stitched the contrast in place and quilted it down from the back side, following the stitching lines of the quilting I had already done. 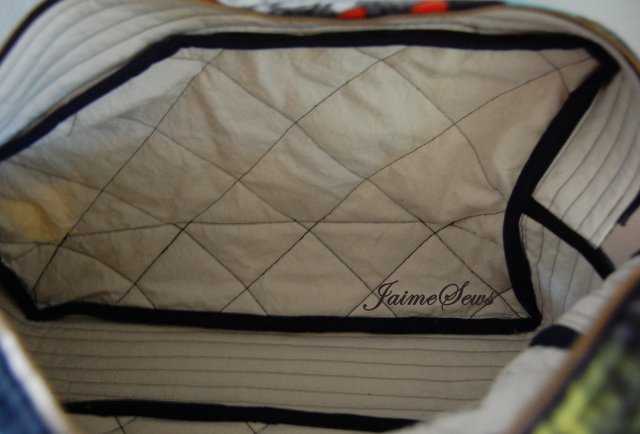
The inside is canvas, which also helped in stabilizing the fleece, but otherwise, just provides a sturdy interior for any outer fabric you may want to use. The binding on the seams leaves such a great impression. I really am in love with how finished it looks inside. My only regret is I couldn’t find a 26″ zipepr, so there’s a little gap in my zipper gusset. I have plans to fix it, though, never fear! (although it might be great for squeezing the last few legos into the bag Ha!) 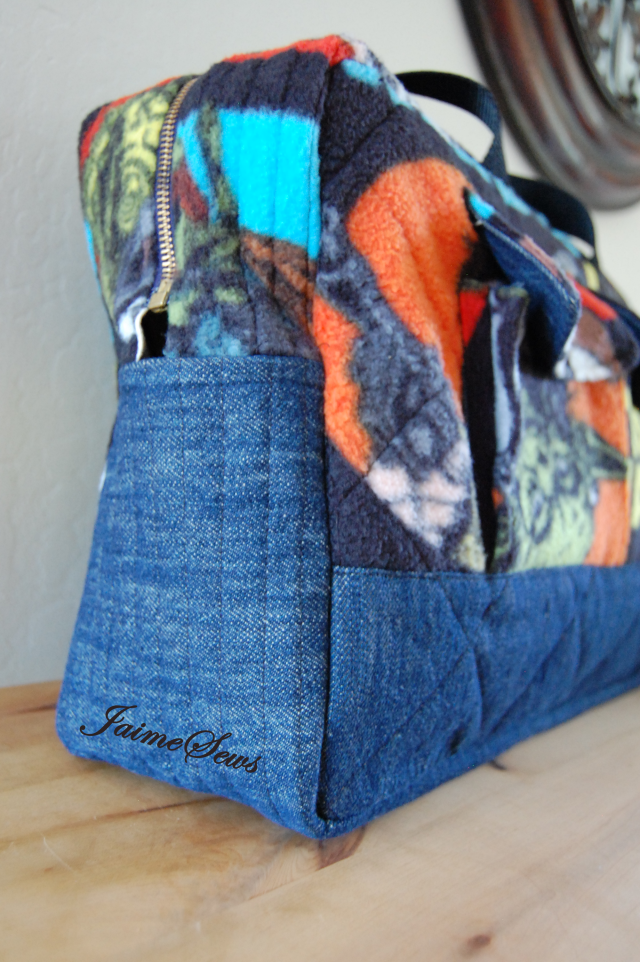
If you’re new to zippers, this is a great introductory project since the zipper is sewn in to each side piece before constructing the rest of the bag, so do NOT be intimidated by the zipper! My friend Karen did a great job with it.
And speaking of Karen – here’s the big reveal of her bag! She came to the Quilt class a few months back and used my machine to make her first sewing project and only recently got a machine for herself! I think her bag turned out AMAZING, don’t you?!
So we definitely recommend this pattern! It would make a great overnight bag for the kids, a project bag for taking to class or use it for storage like I plan to! Let me know if you make one!
